How to License and Distribute an Electron App
Tuesday, September 7th 2021
In July, we launched "version 2" of our distribution API. While the original version will continue to see maintenance, we made the decision to build a better version from the ground up — one that is fully integrated into our flagship software licensing API. This has been a goal of ours since, really, early 2018 when we first launched Keygen Dist. We're excited to get this new version of Dist into the hands of software creators!
Over the next couple months, we'll continue writing about how to license and distribute various types of commercial software using our API, including commercial Node modules, PHP packages, RubyGems, macOS and Windows apps, and even Docker images.
Today, we're going to cover licensing and distributing a commercial Electron app.
Since 2016, the year we first released Keygen, we've seen a myriad of ways to license an Electron application. From very simple licensing integrations completed in a matter of hours, to complex systems meant to license tens of thousands of concurrent machines. Today, we'll be doing a deep-dive into one of the more popular ways we've seen small businesses integrate a licensing flow into their commercial desktop applications.
We'll step through building a basic Electron app, adding license key validation, providing automatic updates, and finally, publishing our app to Keygen Dist.
The Electron app we'll be building today will have a license model inspired by the great Sublime Text 4, where a user can purchase a 3 year timed license, entitling them to automatic updates within their license's 3 year validity window.
In addition, the user will be allowed to download any version released within their license's 3 year window, even after it expires.
This is one of the most successful licensing models we've seen for desktop apps, increasingly referred to as a "perpetual fallback license."
Businesses love it, and users love it.
Building an Electron app
Today, we're largely going to be copying code from Electron's quick-start app, but I think it's valuable to go through each step so that we understand how our application works. Understanding how your application and overall system works is a neccessity.
There's little worse than a "black box" in software — especially around licensing — when things go wrong, you want to be confident you can fix things as quickly as possible, and the best way to do that is to fully understand how your licensing integration works, and for your team to be 100% in control of it.
To kick things off, let's create a new directory for our Electron app:
$ mkdir example-electron-app$ cd example-electron-appThen we'll create a minimal package.json so that we can install packages. (And don't worry,
we'll fill it in as we go.)
$ echo '{"private":true}' >> package.jsonNext, let's install Electron as a project dev dependency:
$ yarn add electron --devThen we'll want to create an entry file for our app's main process:
$ touch main.jsAnd populate it with the "bones" of our Electron app:
(This is as basic as it gets.)
const { app, BrowserWindow } = require('electron') const isDev = process.env.NODE_ENV === 'development' function createWindow() { const mainWindow = new BrowserWindow({ width: 800, height: 600, webPreferences: { devTools: isDev, } }) mainWindow.loadFile('index.html')} app.whenReady().then(() => createWindow()) app.on('window-all-closed', () => app.quit())Next, we'll want to create our main HTML file, which will house our "hello world" app:
$ touch index.htmlAnd add the following "hello world" HTML markup:
<html> <head> <meta http-equiv='Content-Security-Policy' content="default-src 'self'; script-src 'self'"> <title>Hello World</title> <link rel='stylesheet' href='./index.css'> </head> <body> <h1>Hello world!</h1> </body></html>Finally, we'll add a start script to our package.json:
{ "private": true,+ "main": "main.js", + "scripts": {+ "start": "electron ."+ }, "devDependencies": { "electron": "^14.0.0" } }Which we can now use to run our app:
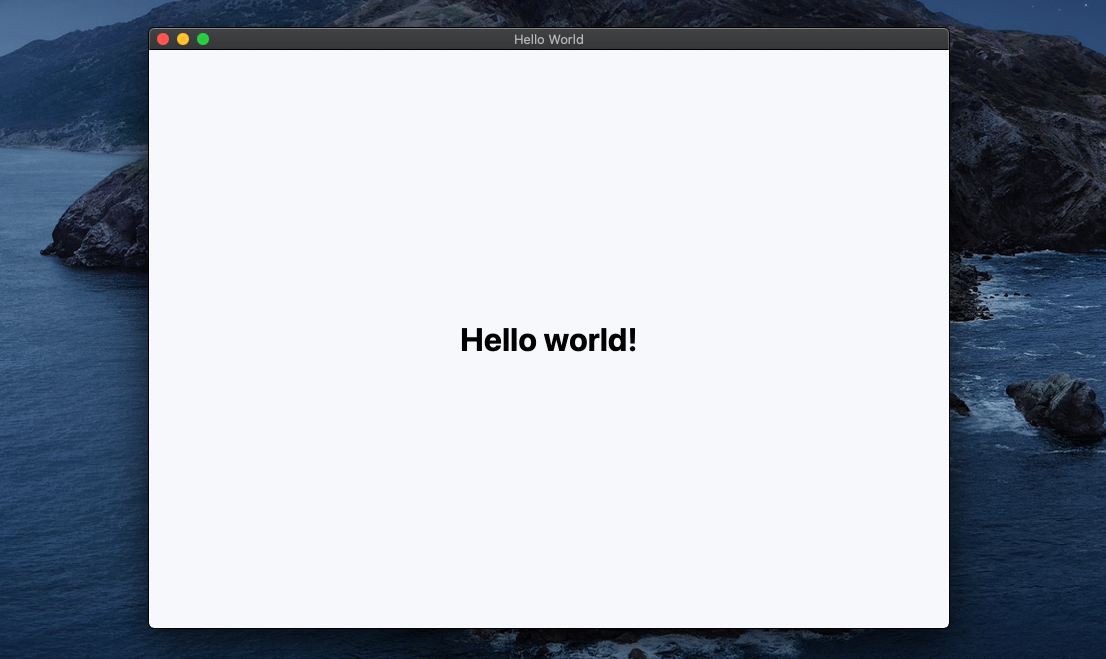
$ yarn startPhew — that's a bit of boilerplate to take in. But good news! We can sprinkle on some CSS, and we've now got ourselves a nice "hello world" app:
Adding license key validation
Okay, so we've got our "hello world" app ready. Next, let's add licensing. Today, we're going to
be adding a license "gate" in front of our app, where we'll prompt the user for a license key
and validate their license before we even launch our app's mainWindow.
Gating our app with a license
To accomplish this, we're going to open another BrowserWindow. But before do that, let's
create the HTML file for the license gate:
$ touch gate.htmlAnd we'll add the following HTML, which is a super simple form asking for the user's license key.
<html> <head> <meta http-equiv='Content-Security-Policy' content="default-src 'self'; script-src 'self'"> <title>License Gate</title> <link rel='stylesheet' href='./index.css'> </head> <body> <form id='license-gate'> <label for='key'> Please enter your license key </label> <input name='key' type='text' placeholder='Your license key'> <button type='submit'> Submit </button> </form> </body></html>Then, we'll open up our main.js file to wrap the mainWindow with another window, gateWindow.
This will be our "gate", which will only unlock for licensed users.
const { app, BrowserWindow } = require('electron')
const isDev = process.env.NODE_ENV === 'development' +async function gateCreateWindowWithLicense(createWindow) { + const gateWindow = new BrowserWindow({+ resizable: false,+ frame: false,+ width: 420,+ height: 200,+ webPreferences: {+ devTools: isDev,+ },+ })+ + gateWindow.loadFile('gate.html')+ + if (isDev) {+ gateWindow.webContents.openDevTools({ mode: 'detach' })+ }+ + // TODO(ezekg) Create main window for valid licenses+} function createWindow() { const mainWindow = new BrowserWindow({
width: 800, height: 600, webPreferences: { devTools: isDev, } }) mainWindow.loadFile('index.html') } -app.whenReady().then(() => createWindow()) +app.whenReady().then(() => gateCreateWindowWithLicense(createWindow)) app.on('window-all-closed', () => app.quit())And there we go — this will "gate" our main application window, giving us a foundation to
selectively launch our mainWindow for licensed users. If we go ahead and run our app,
we should see the gateWindow, not our mainWindow:
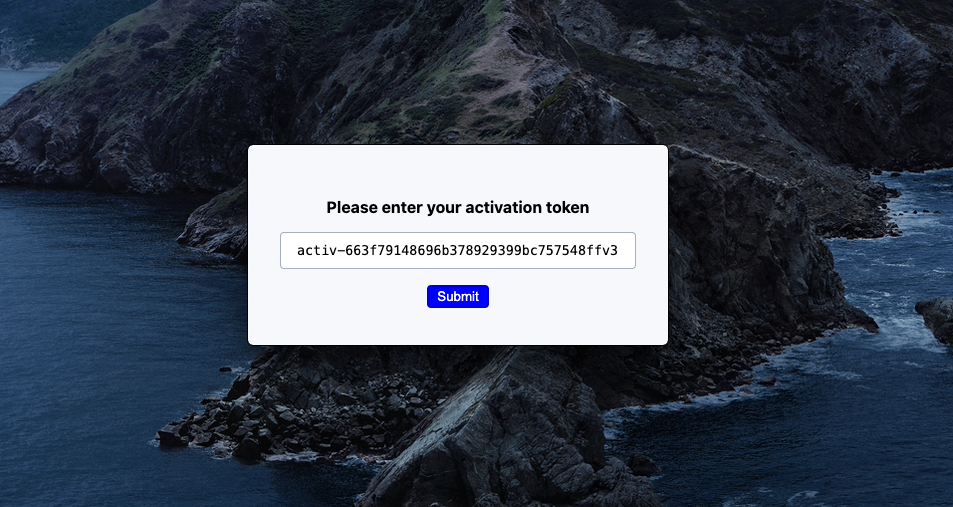
Next, we need to unlock the gate.
Unlocking the license gate
Since our application is using context isolation and
has hopefully disabled Node integration in the renderer process (and it should!),
we can't just send a message from our renderer process to our main process, instructing it
to launch our main app window. (We can't do that because we can't use Node in our renderer
process, thus no access to ipcRenderer.)
Instead, we'll need to use a preload script. Let's go ahead and create our preload script:
$ touch gate.jsAnd we'll fill it with the following script, which will send a GATE_SUBMIT message from
our renderer process to our main process:
const { ipcRenderer } = require('electron') window.addEventListener('DOMContentLoaded', () => { const gate = document.getElementById('license-gate') gate.addEventListener('submit', async event => { event.preventDefault() const data = new FormData(gate) const key = data.get('key') ipcRenderer.send('GATE_SUBMIT', { key }) })})To break that down a bit, just so we can fully grok what's happening:
- The message will be sent when the
#license-gateform is submitted. - The message will contain the user's license
keyinput.
Next, we'll want to tell our gateWindow to utilize this preload script and to listen for
the GATE_SUBMIT message from our renderer process:
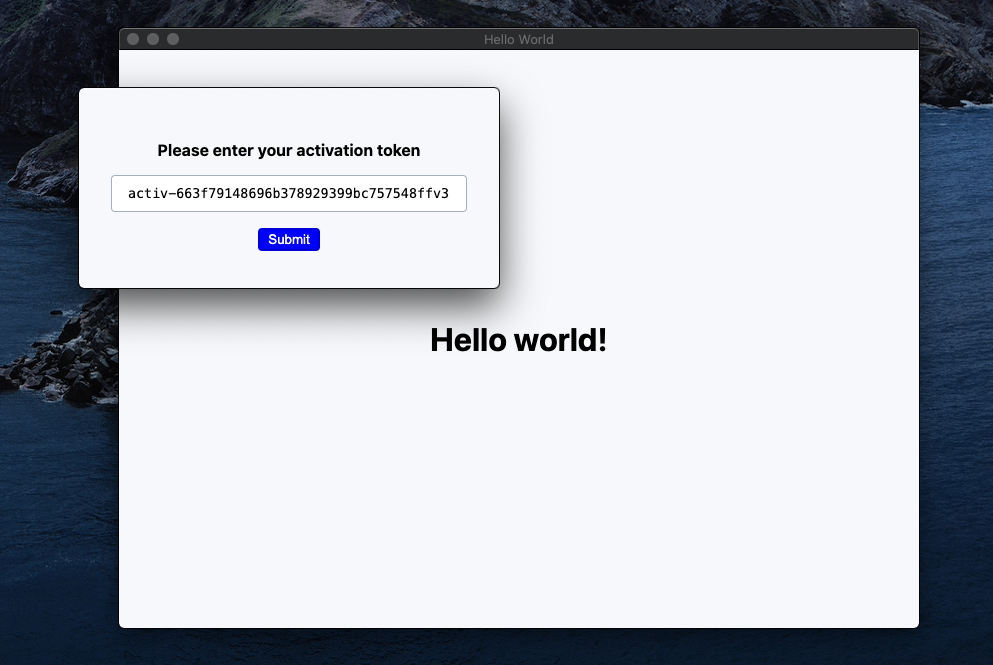
-const { app, BrowserWindow } = require('electron') +const { app, BrowserWindow, ipcMain } = require('electron') +const path = require('path') async function gateCreateWindowWithLicense(createWindow) { const gateWindow = new BrowserWindow({ resizable: false, frame: false, width: 420, height: 200, webPreferences: {+ preload: path.join(__dirname, 'gate.js'), devTools: isDev, }, }) gateWindow.loadFile('gate.html') if (isDev) { gateWindow.webContents.openDevTools({ mode: 'detach' }) } - // TODO(ezekg) Create main window for valid licenses + ipcMain.on('GATE_SUBMIT', async (_event, { key }) => { + // Close the license gate window+ gateWindow.close()+ + // Launch our main window+ createWindow()+ }) }If we restart our app, we should see the gate window first, but our main window should be created after we submit the form, regardless of user input:
Of course, it kind of defeats the purpose of a "gate" to let just anybody in, so let's add a function that validates a license key. The function will return the resulting validation code.
First, let's add a package that will allow us to use fetch in our main process:
$ yarn add node-fetch@2Then, we'll write our validateLicenseKey function, which will return the validation
code. We'll be using our demo account, but feel free to use your account ID instead:
const fetch = require('node-fetch') async function validateLicenseKey(key) { const validation = await fetch(`https://api.keygen.sh/v1/accounts/demo/licenses/actions/validate-key`, { method: 'POST', headers: { 'content-type': 'application/json', accept: 'application/json', }, body: JSON.stringify({ meta: { key }, }), }) const { meta, errors } = await validation.json() if (errors) { return null } return meta.code}Then we'll adjust our GATE_SUBMIT handler to validate the user's license and only create
the main application's window when the license is valid:
ipcMain.on('GATE_SUBMIT', async (_event, { key }) => {+ const code = await validateLicenseKey(key) + + switch (code) {+ case 'VALID':+ // Close the license gate window+ gateWindow.close()+ + // Create our main window+ createWindow()+ + break+ default:+ // Exit the application+ app.exit(1)+ + break+ } })Now whenever we input an a valid license key, our app's main window will be created. Anything else will cause the app to exit. Obviously, that's an abysmal user experience, but we'll leave it as-is for the sake of brevity.
We do have another issue though — the app is exiting for EXPIRED licenses. But that's not what
we want, remember? We still want to allow expired licenses to use the app, we just won't be
providing new releases and auto-updates to expired licenses.
Let's update our handler to also unlock for expired licenses:
ipcMain.on('GATE_SUBMIT', async (_event, { key }) => { const code = await validateLicenseKey(key) switch (code) { case 'VALID':+ case 'EXPIRED': // Close the license gate window gateWindow.close() // Create our main window createWindow() break default: // Exit the application app.exit(1) break } })Our app will now unlock for VALID and EXPIRED licenses, but it will not unlock for any other
license status. With just 2 API requests, we've added license validation to our app. If we wanted to
add something like device activation into the
mix, then we could check for additional validation codes, such as NO_MACHINE and others.
But this will do for now.
Adding auto-updates
Adding auto-updates to your Electron app is super easy, thanks to our official Keygen provider for electron-builder. Let's go ahead and install electron-builder and electron-updater, and start configuring things:
$ yarn add electron-builder@next --dev$ yarn add electron-updater@nextWe'll want to update our package.json to include an electron-builder config for our Keygen
update provider (again, we're using our demo account and an example product):
{ "private": true,+ "name": "electron-licensing-example", + "version": "1.0.0", "main": "main.js", "scripts": {+ "postinstall": "electron-builder install-app-deps", "start": "electron ." },+ "build": { + "publish": {+ "provider": "keygen",+ "account": "1fddcec8-8dd3-4d8d-9b16-215cac0f9b52",+ "product": "858e0235-3237-46e4-a86c-ef01ae0b2c21",+ "channel": "stable"+ }+ }, "devDependencies": { "electron": "^14.0.0", "electron-builder": "^22.13.1" }, "dependencies": { "electron-updater": "^4.5.0", "node-fetch": "2" } }Then let's adjust our main createWindow function to utilize the user's license key from
the previous license validation step. We'll use this to check for updates using license
key authentication.
+const { autoUpdater } = require('electron-updater') -function createWindow() { +function createWindow(key) { const mainWindow = new BrowserWindow({
width: 800, height: 600, webPreferences: { devTools: isDev, }, }) mainWindow.loadFile('index.html') + if (!isDev) { + autoUpdater.addAuthHeader(`License ${key}`)+ autoUpdater.checkForUpdatesAndNotify()+ } }Let's also adjust our GATE_SUBMIT handler code to also pass in our license key to
the createWindow function:
ipcMain.on('GATE_SUBMIT', async (_event, { key }) => { const code = await validateLicenseKey(key) switch (code) { case 'VALID': case 'EXPIRED': // Close the license gate window gateWindow.close() // Create our main window- createWindow() + createWindow(key) break default: // Exit the application app.exit(1) break } })Finally, let's go ahead and check for updates every few hours. Keygen will automatically assert
that the key still belongs to a valid, entitled license before allowing an update.
There's no need to periodically revalidate the license.
function createWindow(key) { const mainWindow = new BrowserWindow({
width: 800, height: 600, webPreferences: { devTools: isDev, }, }) mainWindow.loadFile('index.html') if (!isDev) { autoUpdater.addAuthHeader(`License ${key}`) autoUpdater.checkForUpdatesAndNotify() + setInterval( + autoUpdater.checkForUpdatesAndNotify,+ 1000 * 60 * 60 * 3, // 3 hours in ms+ ) } }Pretty simple, huh? Huge shout out to the maintainers of electron-builder, particularly @mmaietta, for absolutely nailing the user experience of the Keygen provider!
Publishing our app
Now that we've got our application ready to go, we need to publish it. Publishing our app using electron-builder is equally as simple as checking for updates.
But before we go any further, we'll want to create a product token,
which will give us permission to create and upload release artifacts for our Electron product.
After generating a token, we'll want to set a KEYGEN_TOKEN environment variable so that
electron-builder can publish releases for us:
$ export KEYGEN_TOKEN="prod-2b0d0ae962c75038e0e837a82dc124c630b4706ece89ceb3210f8cd07a75d500v3"Next, we'll want to update our package.json to include a publish script. We'll call it
dist, since publish would conflict with yarn publish:
{ "private": true,
"name": "electron-licensing-example", "version": "1.0.0", "main": "main.js", "scripts": { "postinstall": "electron-builder install-app-deps", "start": "electron .",+ "dist": "electron-builder build --publish always" }, "build": { "publish": {
"provider": "keygen", "account": "1fddcec8-8dd3-4d8d-9b16-215cac0f9b52", "product": "858e0235-3237-46e4-a86c-ef01ae0b2c21", "channel": "stable" } }, "devDependencies": {
"electron": "^14.0.0", "electron-builder": "^22.13.1" }, "dependencies": {
"electron-updater": "^4.5.0", "node-fetch": "2" } }Finally, when we're ready to publish v1, we can run our dist script:
$ yarn distIn conclusion
Today, we've learned how to create an Electron app, how to add license validation in front of our app using Keygen's software licensing API, and we've also learned how to provide auto-updates to licensed users, and lastly, how to publish our app using electron-builder and Keygen's software distribution API.
If you want to read more code, the complete example app is available here on our GitHub. The complete app has a few changes, but most notably, we don't exit the application when a license is invalid — instead, we run it in an "evaluation mode."
Next steps
If you're looking to continue your integration, here are some things to check out:
- Allowing unlicensed users to use the app in an "evaluation mode" ala Sublime Text 4. Our complete example app implements this.
- Persisting the license session so user aren't prompted for a product key every time
the app is launched (hint: check out
sindresorhus/electron-store). - Utilize the license key authentication to perform other requests, such as activating the current device or checking the current license's entitlements. We have another example app showcasing device activation here.
- Accepting payments for your app. This can be done using a payment provider such as Stripe, Paddle or FastSpring.
Until next time.
If you find any errors in my code, or if you can think of ways to improve things, ping me via Twitter.